Transcoding Video Art with Filtergraphs
What are Simple filtergraphs?
Before heading straight into recipes we will talk about Simple filtergraphs:
Simple filtergraphs are those filters that have exactly one input and output, both of the same type.
They can be processed by simply inserting an additional step between decoding and encoding of video frames:

Simple filtergraphs are configured with the per-stream -filter option (with -vf for video).
DeFFcode's FFdecoder API unlocks the power of ffmpeg backend for creating real-time artistic generative video art using simple and complex filtergraphs, and decoding them into live video frames.
We'll discuss the Transcoding Video Art with Filtergraphs in the following recipes:
DeFFcode APIs requires FFmpeg executable
DeFFcode APIs MUST requires valid FFmpeg executable for all of its core functionality, and any failure in detection will raise RuntimeError immediately. Follow dedicated FFmpeg Installation doc ➶ for its installation.
Additional Python Dependencies for following recipes
Following recipes requires additional python dependencies which can be installed easily as below:
-
OpenCV: OpenCV is required for previewing and encoding video frames. You can easily install it directly via
pip:OpenCV installation from source
You can also follow online tutorials for building & installing OpenCV on Windows, Linux, MacOS and Raspberry Pi machines manually from its source.
Make sure not to install both pip and source version together. Otherwise installation will fail to work!
Other OpenCV binaries
OpenCV maintainers also provide additional binaries via pip that contains both main modules and contrib/extra modules
opencv-contrib-python, and for server (headless) environments likeopencv-python-headlessandopencv-contrib-python-headless. You can also install any one of them in similar manner. More information can be found here. -
VidGear: VidGear is required for lossless encoding of video frames into file/stream. You can easily install it directly via
pip:
Always use FFdecoder API's terminate() method at the end to avoid undesired behavior.
WriteGear's Compression Mode support for FFdecoder API is currently in beta so you can expect much higher than usual CPU utilization!
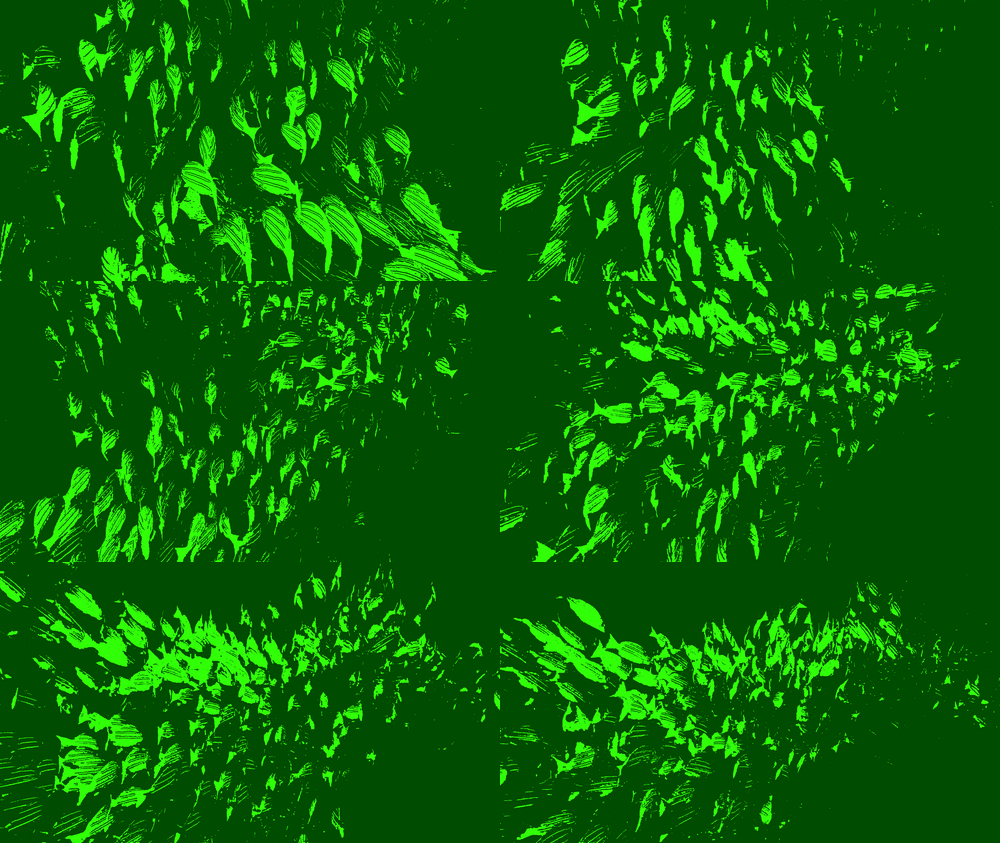
Transcoding video art with YUV Bitplane Visualization
Based on the QCTools bitplane visualization, this video art has numerical values ranging between
-1(no change) and10(noisiest) for theY(luminance),UandV(chroma or color difference) planes, yielding cool and different results for different values.

This Video Art idea credits goes to ffmpeg-artschool - An AMIA workshop featuring scripts, exercises, and activities to make art using FFmpeg.
In this example we will generate 8 seconds of Bitplane Visualization by binding the bit position of the Y, U, and V planes of a video file (say foo.mp4) by using FFmpeg's lutyuv filter and assigning them random values (between -1(no change) and 10(noisiest)), and decode live BGR24 video frames in FFdecoder API. We'll also be encoding those decoded frames in real-time into lossless video file using WriteGear API with controlled framerate.
# import the necessary packages
from deffcode import FFdecoder
from vidgear.gears import WriteGear
import cv2, json

# define Video Filter definition
ffparams = {
    "-ffprefixes": ["-t", "8"],  # playback time of 8 seconds
    "-vf": "format=yuv444p," # change input format to yuv444p
    + "lutyuv="  # use  lutyuv filter for binding bit position of the Y, U, and V planes
    + "y=if(eq({y}\,-1)\,512\,if(eq({y}\,0)\,val\,bitand(val\,pow(2\,10-{y}))*pow(2\,{y}))):".format(
        y=3 # define `Y` (luminance) plane value (b/w -1 and 10)
    )
    + "u=if(eq({u}\,-1)\,512\,if(eq({u}\,0)\,val\,bitand(val\,pow(2\,10-{u}))*pow(2\,{u}))):".format(
        u=1 # define `U` (chroma or color difference) plane value (b/w -1 and 10)
    )
    + "v=if(eq({v}\,-1)\,512\,if(eq({v}\,0)\,val\,bitand(val\,pow(2\,10-{v}))*pow(2\,{v}))),".format(
        v=3 # define `V` (chroma or color difference) plane value (b/w -1 and 10)
    )
    + "format=yuv422p10le", # change output format to yuv422p10le
}

# initialize and formulate the decoder with suitable source
decoder = FFdecoder("foo.mp4", frame_format="bgr24", verbose=True, **ffparams).formulate()

# retrieve framerate from source JSON Metadata and pass it as `-input_framerate`
# parameter for controlled framerate and define other parameters
output_params = {
    "-input_framerate": json.loads(decoder.metadata)["output_framerate"],
}

# Define writer with default parameters and suitable
# output filename for e.g. `output_foo.mp4`
writer = WriteGear(output_filename="output_foo.mp4", **output_params)

# grab the BGR24 frame from the decoder
for frame in decoder.generateFrame():

    # check if frame is None
    if frame is None:
        break

    # {do something with the frame here}

    # writing BGR24 frame to writer
    writer.write(frame)

# terminate the decoder
decoder.terminate()

# safely close writer
writer.close()
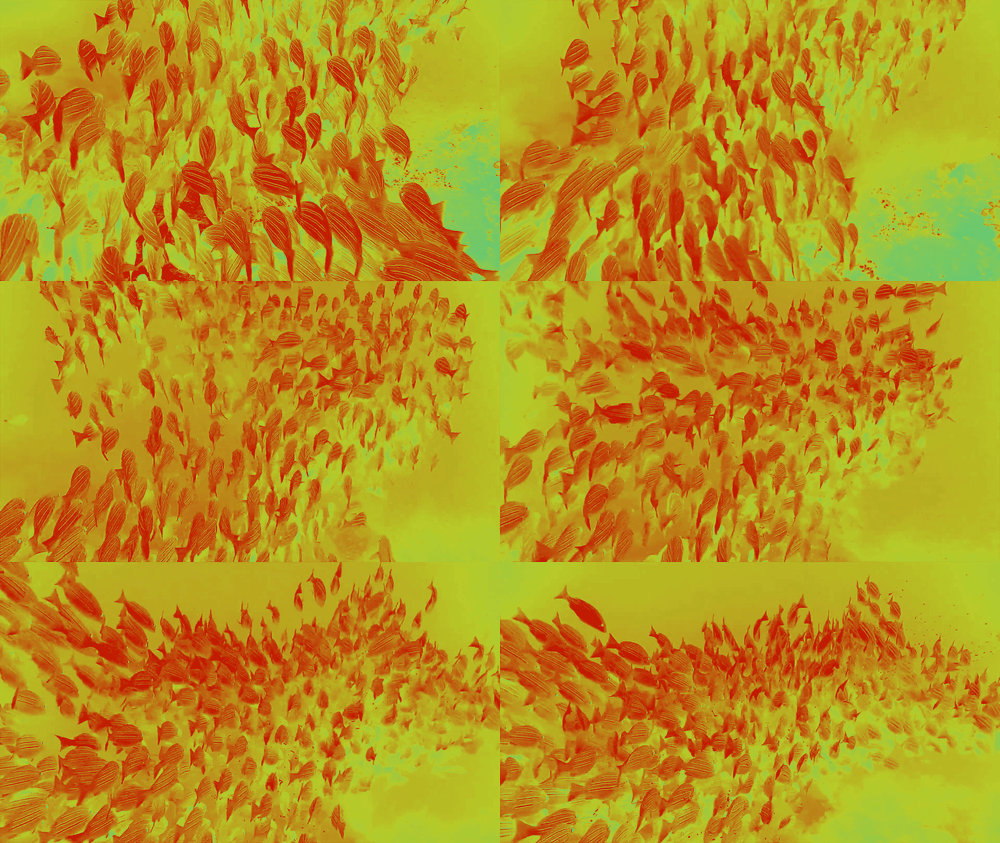
Transcoding video art with Jetcolor effect
This video art uses FFmpeg's
pseudocolorfilter to create a Jetcolor effect which is high contrast, high brightness, and high saturation colormap that ranges from blue to red, and passes through the colors cyan, yellow, and orange. The jet colormap is associated with an astrophysical fluid jet simulation from the National Center for Supercomputer Applications.

This Video Art idea credits goes to ffmpeg-artschool - An AMIA workshop featuring scripts, exercises, and activities to make art using FFmpeg.
In this example we will generate 8 seconds of Jetcolor effect by changing frame colors of a video file (say foo.mp4) using FFmpeg's pseudocolor filter in different modes (values between 0 (cleaner) [default] and 2(noisiest)), and decode live BGR24 video frames in FFdecoder API. We'll also be encoding those decoded frames in real-time into lossless video file using WriteGear API with controlled framerate.
# import the necessary packages
from deffcode import FFdecoder
from vidgear.gears import WriteGear
import cv2, json

# define Video Filter definition
ffparams = {
    "-ffprefixes": ["-t", "8"],  # playback time of 8 seconds
    "-vf": "format=yuv444p,"  # change input format to `yuv444p`
    + "eq=brightness=0.40:saturation=8,"  # default `brightness = 0.40` and `saturation=8`
    + "pseudocolor='"  # dynamically controlled colors through `pseudocolor` filter
    + "if(between(val,0,85),lerp(45,159,(val-0)/(85-0)),"
    + "if(between(val,85,170),lerp(159,177,(val-85)/(170-85)),"
    + "if(between(val,170,255),lerp(177,70,(val-170)/(255-170))))):"  # mode 0 (cleaner) [default]
    + "if(between(val,0,85),lerp(205,132,(val-0)/(85-0)),"
    + "if(between(val,85,170),lerp(132,59,(val-85)/(170-85)),"
    + "if(between(val,170,255),lerp(59,100,(val-170)/(255-170))))):"  # mode 1
    + "if(between(val,0,85),lerp(110,59,(val-0)/(85-0)),"
    + "if(between(val,85,170),lerp(59,127,(val-85)/(170-85)),"
    + "if(between(val,170,255),lerp(127,202,(val-170)/(255-170))))):"  # mode 2 (noisiest)
    + "i={mode}',".format(
        mode=0  # define mode value (b/w `0` and `2`) to control colors
    )
    + "format=yuv422p10le",  # change output format to `yuv422p10le`
}

# initialize and formulate the decoder with suitable source
decoder = FFdecoder(
    "foo.mp4", frame_format="bgr24", verbose=True, **ffparams
).formulate()

# retrieve framerate from source JSON Metadata and pass it as `-input_framerate`
# parameter for controlled framerate and define other parameters
output_params = {
    "-input_framerate": json.loads(decoder.metadata)["output_framerate"],
}

# Define writer with default parameters and suitable
# output filename for e.g. `output_foo.mp4`
writer = WriteGear(output_filename="output_foo.mp4", **output_params)

# grab the BGR24 frame from the decoder
for frame in decoder.generateFrame():

    # check if frame is None
    if frame is None:
        break

    # {do something with the frame here}

    # writing BGR24 frame to writer
    writer.write(frame)

# terminate the decoder
decoder.terminate()

# safely close writer
writer.close()
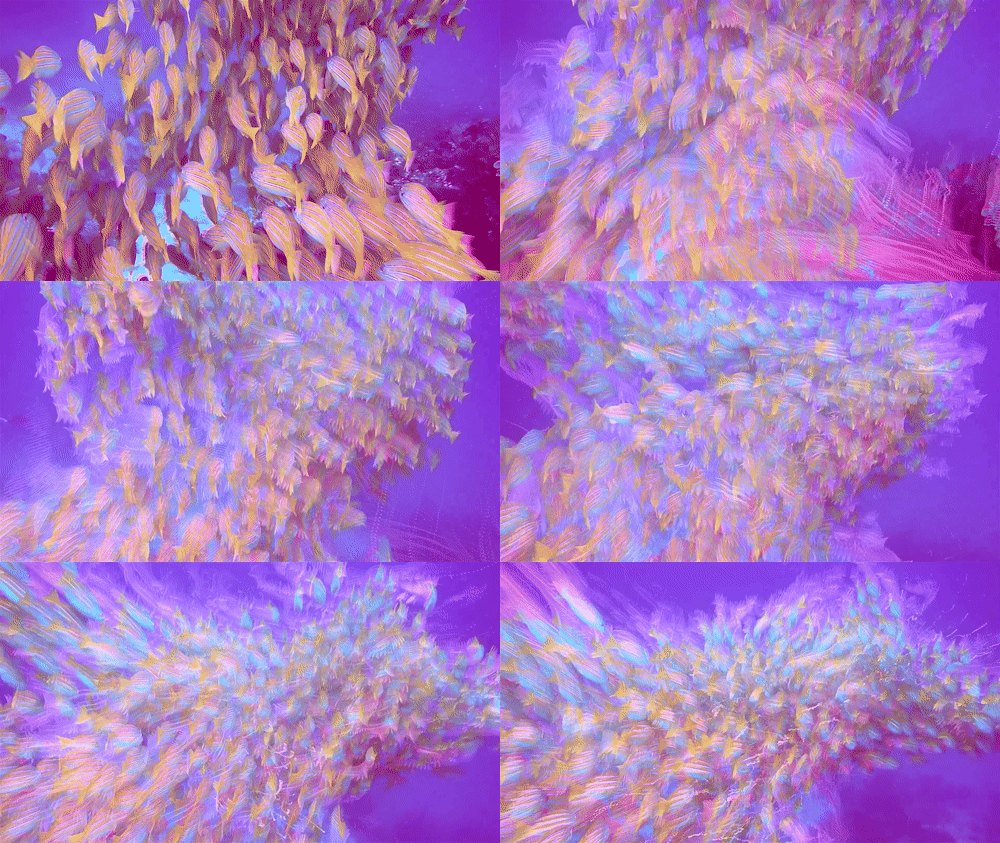
Transcoding video art with Ghosting effect
This video art using FFmpeg’s
lagfunfilter to create a video echo/ghost/trailing effect.

This Video Art idea credits goes to ffmpeg-artschool - An AMIA workshop featuring scripts, exercises, and activities to make art using FFmpeg.
In this example we will generate 8 seconds of Ghosting effect using FFmpeg's lagfun filter on a video file (say foo.mp4), and decode live BGR24 video frames in FFdecoder API. We'll also be encoding those decoded frames in real-time into lossless video file using WriteGear API with controlled framerate.
# import the necessary packages
from deffcode import FFdecoder
from vidgear.gears import WriteGear
import cv2, json

# define Video Filter definition
ffparams = {
    "-ffprefixes": ["-t", "8"],  # playback time of 8 seconds
    "-filter_complex": "format=yuv444p[formatted];"  # change video input format to yuv444p
    + "[formatted]split[a][b];"  # split input into 2 identical outputs
    + "[a]lagfun=decay=.99:planes=1[a];"  # apply lagfun filter on first output
    + "[b]lagfun=decay=.98:planes=2[b];"  # apply lagfun filter on 2nd output
    + "[a][b]blend=all_mode=screen:c0_opacity=.5:c1_opacity=.5,"  # apply screen blend mode both outputs
    + "format=yuv422p10le[out]",  # change output format to yuv422p10le
    "-map": "[out]",  # map the output
}

# initialize and formulate the decoder with suitable source
decoder = FFdecoder(
    "foo.mp4", frame_format="bgr24", verbose=True, **ffparams
).formulate()

# retrieve framerate from source JSON Metadata and pass it as `-input_framerate`
# parameter for controlled framerate and define other parameters
output_params = {
    "-input_framerate": json.loads(decoder.metadata)["output_framerate"],
}

# Define writer with default parameters and suitable
# output filename for e.g. `output_foo.mp4`
writer = WriteGear(output_filename="output_foo.mp4", **output_params)

# grab the BGR24 frame from the decoder
for frame in decoder.generateFrame():

    # check if frame is None
    if frame is None:
        break

    # {do something with the frame here}

    # writing BGR24 frame to writer
    writer.write(frame)

# terminate the decoder
decoder.terminate()

# safely close writer
writer.close()
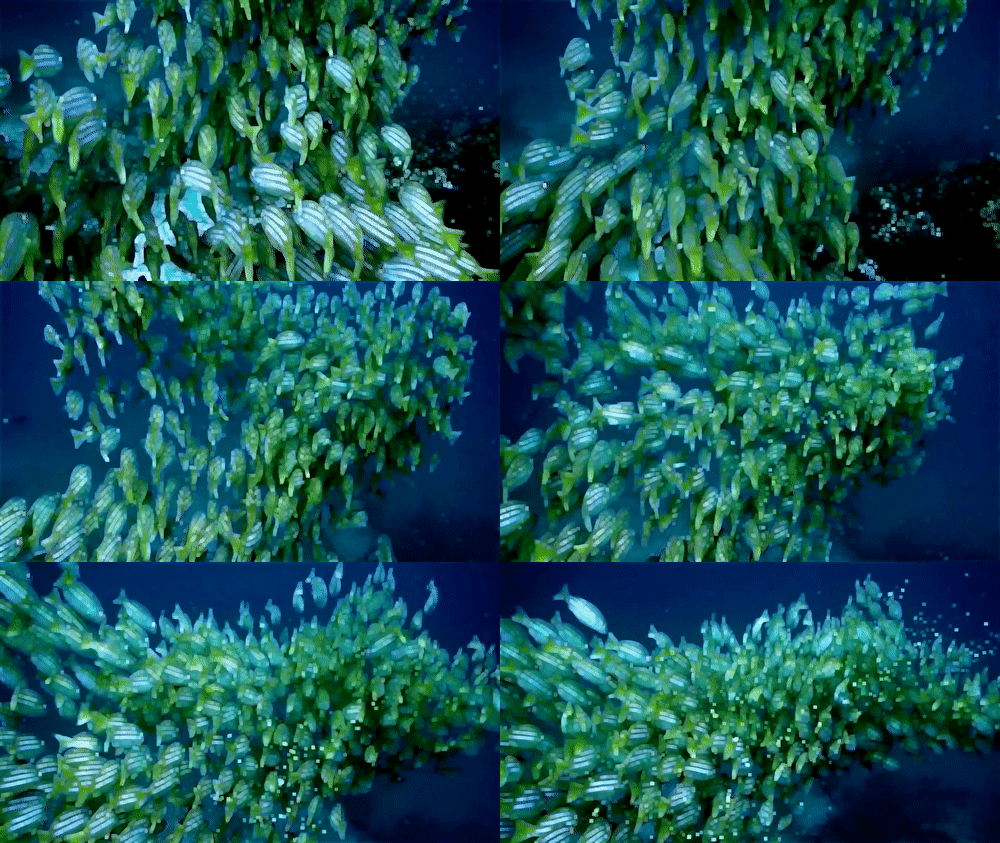
Transcoding video art with Pixelation effect
This video art uses FFmpeg’s
overlay,smartblurand stacks ofdilationfilters to intentionally Pixelate your video in artistically cool looking ways such that each pixel become visible to the naked eye.

This Video Art idea credits goes to oioiiooixiii blogspot.
In this example we will generate 8 seconds of Pixelation effect using FFmpeg’s smartblur and stacks of dilation filters overlayed on a video file (say foo.mp4), and decode live BGR24 video frames in FFdecoder API. We'll also be encoding those decoded frames in real-time into lossless video file using WriteGear API with controlled framerate.
# import the necessary packages
from deffcode import FFdecoder
from vidgear.gears import WriteGear
import cv2, json

# define Video Filter definition
ffparams = {
    "-ffprefixes": ["-t", "8"],  # playback time of 8 seconds
    "-vf": "format=yuv444p,"  # change input format to yuv444p
    + "split [out1][out2];"  # split input into 2 identical outputs
    + "[out1][out2] overlay,smartblur,"  # apply overlay,smartblur filter on both outputs
    + "dilation,dilation,dilation,dilation,dilation,"  # apply stacks of dilation filters on both outputs
    + "eq=contrast=1.4:brightness=-0.09 [pixels];"  # change brightness and contrast
    + "[pixels]format=yuv422p10le[out]",  # change output format to yuv422p10le
    "-mode": "[out]",  # map the output
}

# initialize and formulate the decoder with suitable source
decoder = FFdecoder(
    "foo.mp4", frame_format="bgr24", verbose=True, **ffparams
).formulate()

# retrieve framerate from source JSON Metadata and pass it as `-input_framerate`
# parameter for controlled framerate and define other parameters
output_params = {
    "-input_framerate": json.loads(decoder.metadata)["output_framerate"],
}

# Define writer with default parameters and suitable
# output filename for e.g. `output_foo.mp4`
writer = WriteGear(output_filename="output_foo.mp4", **output_params)

# grab the BGR24 frame from the decoder
for frame in decoder.generateFrame():

    # check if frame is None
    if frame is None:
        break

    # {do something with the frame here}

    # writing BGR24 frame to writer
    writer.write(frame)

# terminate the decoder
decoder.terminate()

# safely close writer
writer.close()