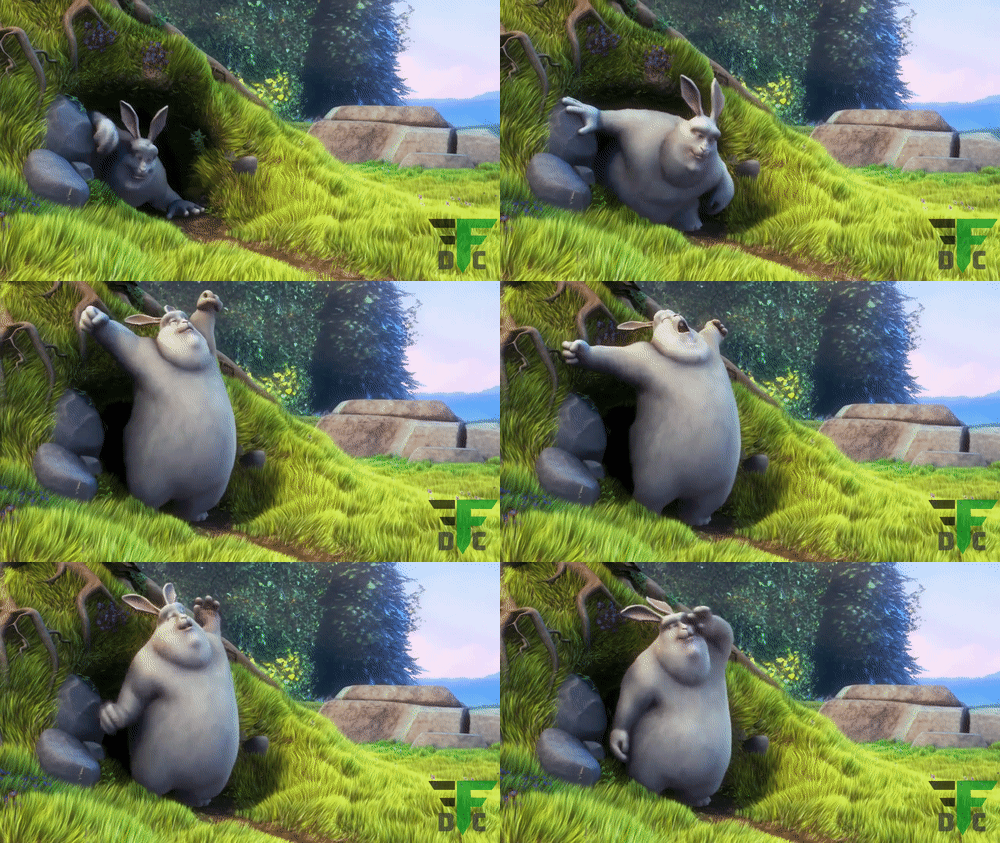
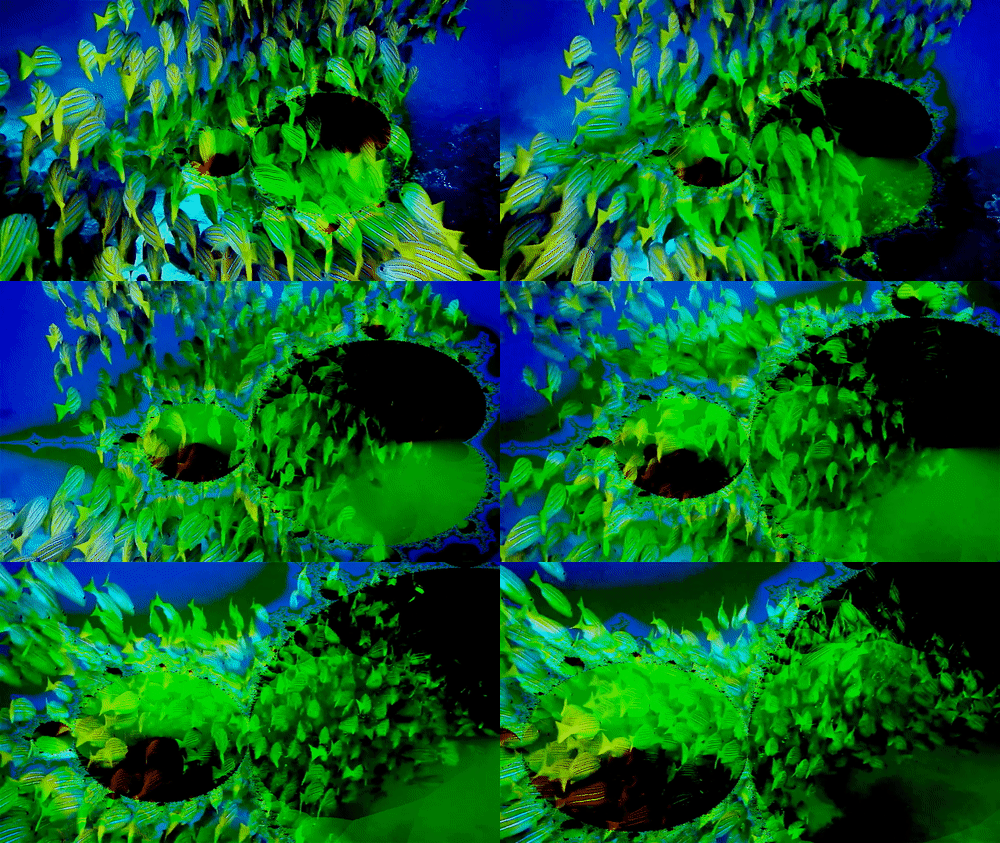
Transcoding Live Complex Filtergraphs
What are Complex filtergraphs?
Before heading straight into recipes we will talk about Complex filtergraphs:
Complex filtergraphs are those which cannot be described as simply a linear processing chain applied to one stream.
Complex filtergraphs are configured with the -filter_complex global option.
The -lavfi option is equivalent to -filter_complex.
A trivial example of a complex filtergraph is the overlay filter, which has two video inputs and one video output, containing one video overlaid on top of the other.
DeFFcode's FFdecoder API seamlessly supports processing multiple input streams including real-time frames through multiple filter chains combined into a filtergraph (via.
-filter_complexFFmpeg parameter), and use their outputs as inputs for other filter chains.
We'll discuss the transcoding of live complex filtergraphs in the following recipes:
DeFFcode APIs requires FFmpeg executable
DeFFcode APIs MUST requires valid FFmpeg executable for all of its core functionality, and any failure in detection will raise RuntimeError immediately. Follow dedicated FFmpeg Installation doc ➶ for its installation.
Additional Python Dependencies for following recipes
Following recipes requires additional python dependencies which can be installed easily as below:
-
OpenCV: OpenCV is required for previewing and encoding video frames. You can easily install it directly via
pip:OpenCV installation from source
You can also follow online tutorials for building & installing OpenCV on Windows, Linux, MacOS and Raspberry Pi machines manually from its source.
Make sure not to install both pip and source version together. Otherwise installation will fail to work!
Other OpenCV binaries
OpenCV maintainers also provide additional binaries via pip that contains both main modules and contrib/extra modules
opencv-contrib-python, and for server (headless) environments likeopencv-python-headlessandopencv-contrib-python-headless. You can also install any one of them in similar manner. More information can be found here. -
VidGear: VidGear is required for lossless encoding of video frames into file/stream. You can easily install it directly via
pip:
Always use FFdecoder API's terminate() method at the end to avoid undesired behavior.
WriteGear's Compression Mode support for FFdecoder API is currently in beta so you can expect much higher than usual CPU utilization!
Transcoding video with Live Custom watermark image overlay

In this example we will apply a watermark image (say watermark.png with transparent background) overlay to the 10 seconds of video file (say foo.mp4) using FFmpeg's overlay filter with some additional filtering, , and decode live BGR24 video frames in FFdecoder API. We'll also be encoding those decoded frames in real-time into lossless video file using WriteGear API with controlled framerate.
You can use FFdecoder's metadata property object that dumps Source Metadata as JSON to retrieve source framerate and frame-size.
To learn about exclusive -ffprefixes & -clones parameter. See Exclusive Parameters ➶
Remember to replace watermark.png watermark image file-path with yours before using this recipe.
# import the necessary packages
from deffcode import FFdecoder
from vidgear.gears import WriteGear
import json, cv2

# define the Complex Video Filter with additional `watermark.png` image input
ffparams = {
    "-ffprefixes": ["-t", "10"],  # playback time of 10 seconds
    "-clones": [
        "-i",
        "watermark.png",  # !!! [WARNING] define your `watermark.png` here.
    ],
    "-filter_complex": "[1]format=rgba,"  # change 2nd(image) input format to yuv444p
    + "colorchannelmixer=aa=0.7[logo];"  # apply colorchannelmixer to image for controlling alpha [logo]
    + "[0][logo]overlay=W-w-{pixel}:H-h-{pixel}:format=auto,".format(  # apply overlay to 1st(video) with [logo]
        pixel=5  # at 5 pixels from the bottom right corner of the input video
    )
    + "format=bgr24",  # change output format to `yuv422p10le`
}

# initialize and formulate the decoder for BGR24 output with given params
decoder = FFdecoder(
    "foo.mp4", frame_format="bgr24", verbose=True, **ffparams
).formulate()

# retrieve framerate from source JSON Metadata and pass it as `-input_framerate`
# parameter for controlled framerate and define other parameters
output_params = {
    "-input_framerate": json.loads(decoder.metadata)["output_framerate"],
}

# Define writer with default parameters and suitable
# output filename for e.g. `output_foo.mp4`
writer = WriteGear(output_filename="output_foo.mp4", **output_params)

# grab the BGR24 frame from the decoder
for frame in decoder.generateFrame():

    # check if frame is None
    if frame is None:
        break

    # {do something with the frame here}

    # writing BGR24 frame to writer
    writer.write(frame)

# terminate the decoder
decoder.terminate()

# safely close writer
writer.close()
Transcoding video from sequence of Images with additional filtering

Available blend mode options
Other blend mode options for blend filter include: addition, addition128, grainmerge, and, average, burn, darken, difference, difference128, grainextract, divide, dodge, freeze, exclusion, extremity, glow, hardlight, hardmix, heat, lighten, linearlight, multiply, multiply128, negation, normal, or, overlay, phoenix, pinlight, reflect, screen, softlight, subtract, vividlight, xor
In this example we will blend 10 seconds of Mandelbrot test pattern (generated using lavfi input virtual device) that serves as the "top" layer with 10 seconds of Image Sequence that serves as the "bottom" layer, using blend filter (with heat blend mode), and decode live BGR24 video frames in FFdecoder API. We'll also be encoding those decoded frames in real-time into lossless video file using WriteGear API with controlled framerate.
Extracting Image Sequences from a video
You can use following FFmpeg command to extract sequences of images from a video file foo.mp4 (restricted to 12 seconds):
The default framerate is 25 fps, therefore this command will extract 25 images/sec from the video file, and save them as sequences of images (starting from image-000.png, image-001.png, image-002.png up to image-999.png).
If there are more than 1000 frames then the last image will be overwritten with the remaining frames leaving only the last frame.
The default images width and height is same as the video.
How to start with specific number image?
You can use -start_number FFmpeg parameter if you want to start with specific number image:
FFdecoder API also accepts Glob pattern(*.png) as well Single looping image as as input to its source parameter. See this Basic Recipe ➶ for more information.
# import the necessary packages
from deffcode import FFdecoder
from vidgear.gears import WriteGear
import cv2, json

# define mandelbrot pattern generator
# and the Video Filter definition
ffparams = {
    "-ffprefixes": [
        "-t", "10", # playback time of 10 seconds for mandelbrot pattern
        "-f", "lavfi", # use input virtual device
        "-i", "mandelbrot=rate=25", # create mandelbrot pattern at 25 fps
        "-t", "10", # playback time of 10 seconds for video
    ],
    "-custom_resolution": (1280, 720), # resize to 1280x720
    "-filter_complex":"[1:v]format=yuv444p[v1];" # change 2nd(video) input format to yuv444p
        + "[0:v]format=gbrp10le[v0];" # change 1st(mandelbrot pattern) input format to gbrp10le
        + "[v1][v0]scale2ref[v1][v0];" # resize the 1st(mandelbrot pattern), based on a 2nd(video).
        + "[v0][v1]blend=all_mode='heat'," # apply heat blend mode to output
        + "format=yuv422p10le[v]", # change output format to `yuv422p10le`
    "-map": "[v]", # map the output
}

# initialize and formulate the decoder with suitable source
decoder = FFdecoder(
    "/path/to/image-%03d.png", frame_format="bgr24", verbose=True, **ffparams
).formulate()

# define your parameters
# [WARNING] framerate must match original source framerate !!!
output_params = {
    "-input_framerate": 25,  # Default
}

# Define writer with default parameters and suitable
# output filename for e.g. `output_foo.mp4`
writer = WriteGear(output_filename="output_foo.mp4", **output_params)

# grab the BGR24 frame from the decoder
for frame in decoder.generateFrame():

    # check if frame is None
    if frame is None:
        break

    # {do something with the frame here}

    # writing BGR24 frame to writer
    writer.write(frame)

# terminate the decoder
decoder.terminate()

# safely close writer
writer.close()